This is an
appropriate title, as the instrument being built and documented in this blog
is made of Koa, a tree endemic to the Hawaiian Islands. And the ukulele is a distinctly Hawaiian
tradition. And, the act of closing my eyes and imagining a sun-soaked beach
lined with palm trees is actually helping my poor cold toes feel a little
warmer. Aloha.
Ok. Let’s get to
it. The binding has just been glued into
the prepared channels on the ukulele.
Filament tape makes a reliable clamp while the glue dries. Once that’s done, it’s a good idea to take
care whilst removing the tape. Some
species of wood are very likely to have some amount of grain pullout. The tape can actually pull away wood from the
project. Mind the grain run out! I pull
low and away, successfully.
As with any gluing operation where the clamps obscure the
joint, there is some cleanup to do after the clamps come off. In the case of binding, there’s usually a
little glue squeeze out to remove, and typically, a bit of wood too. The way to achieve a nice installation is to
cut the binding channel the tiniest bit too big. After gluing, scraping away that little bit
of “proud” body wood from the top, back or sides brings everything flush and
the actual binding material retains its’ original height and width.
For this process, out comes my handy cabinet scraper. This tool cuts fast and leaves behind a
wonderfully smooth surface; one that looks and feels polished. Bravo to whoever it was that pioneered the
scraper. Unlike sandpaper, you can use
the scraper all day long and all it costs is the time it takes to re-sharpen
it. Cool!
At this point, the “box” was basically finished. Good thing too because we were ready for
some time apart. So, I moved on to the
neck. The first thing to do was to
redesign the headstock shape. The neck
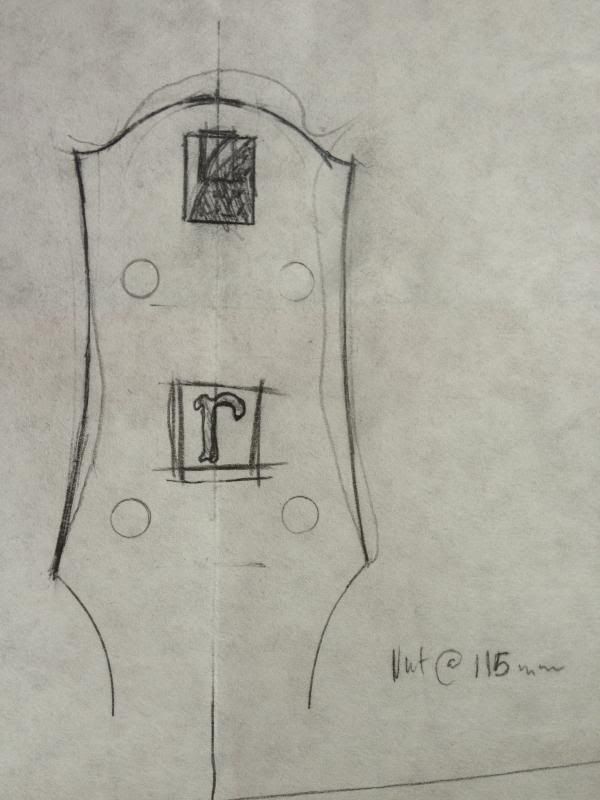
from the “kit” came with a pre-shaped headstock. It was nothing special and as I've mentioned before, my plan was to customize every possible aspect of the build. So, a new headstock shape is required. I looked to my original “acoustic headstock design” from back in my
school days for inspiration.
I scored a 9/10 on this drawing. Ostensibly because tuning machines do not look like my depiction of them. Everyone knows that the gear sits below the tuner post, not above. Thanks, Mr. Vincent. At any rate...
After a few
test drawerings, I determined a size-appropriate layout for the shape and the
logo inlay. The logo is based on the Fibonacci spiral and fashioned out
of abalone and mother-of-pearl.
Cutting
these pieces requires patience and finesse.
The blades for the jewelers saw are super tiny and easy to snap, so it’s
always a good idea to buy more before you run out. I got through it ok. Some fitting and filing yields a good looking
piece with accurate lines.
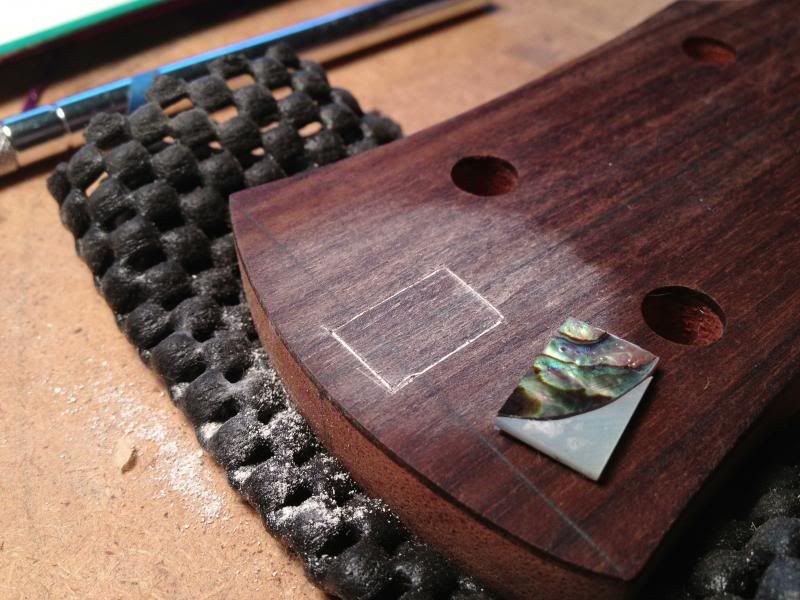
After laying out some guide lines on the head plate, I used
some double stick tape to adhere the inlay onto its future location. Using the back edge of a #11 X-acto blade, I
carefully scribed around the piece making sure to create well-defined
corners. Pulling off the tape reveals a
minutely oversized outline of the inlay.
I set up a Dremel tool to make a cut that is just slightly shallower
than the inlay piece is thick. A bit of
chalk dust scraped into the outline helps me see what I’m up to. After cutting, a little chisel work helps
square up the corners. Guess what? It fits.
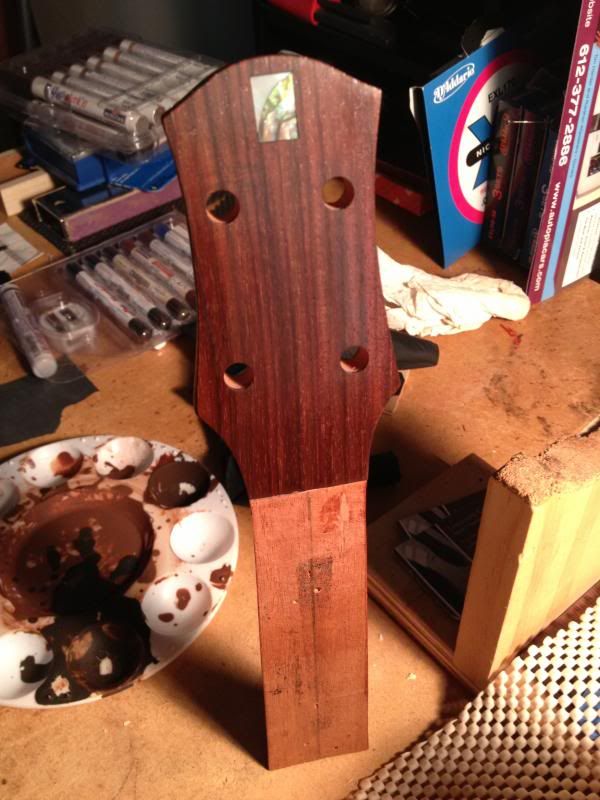
Some ebony dust and super glue and a little filing completes the job. Very special thanks to my friends Leo and
Lisa for the loan of their tools and helping me do this the right way.
Going back to my headstock design, I created a template from
the drawering. The template is created
with center lines to accurately locate it on the headstock. A quick trace around the perimeter transfers
the shape onto the headstock.
Since I
don’t have a band saw, I called on the jewelers saw to do some work it was not
really meant for. It took a bloody long
time to finish the cuts but they came out really nicely and required only a
little cleanup.
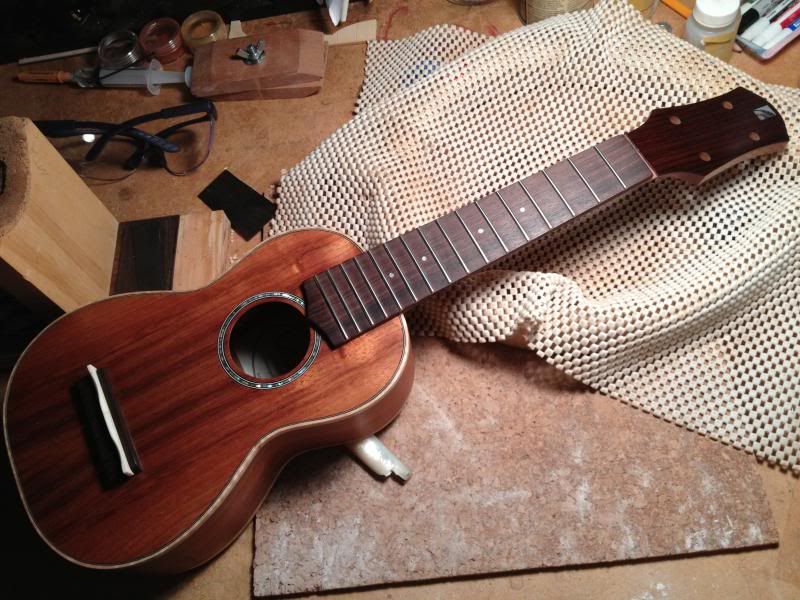
I'd installed the frets into the fingerboard weeks before any of this went down. Except for setting the neck and finishing, most of the heavy lifting was finished at this point. I couldn't resist aligning all the pieces for an early peek at the finished product. This is what I saw...
This view is only a tenuous balancing act. In the next post we'll get this all wrapped up and move onward and upward. Thanks for reading.


Thank you for updating your blog, I like reading about your latest masterpiece! A+ on the drawing too!
ReplyDeleteYou really took that puppy to the Nth! I was just look ing at mine tonight and thinking about getting back to it; I changed some things design-wise with it to accomodate the steel strings that I think are working well. It has almost become a cuatro in basic configuration; among other things I now have a compensated mando-style bridge (floating) with a saddle and endpin type thing where the strings anchor into the endpin. Sounds fuckin awesome;I tune it lower and in 4ths, haven't totally settled on a native tuning; I think the wood will tell me that. Right now it likes A alot…Big Swap Meet at school next weekend!!!! Im bringin the donuts….
ReplyDelete