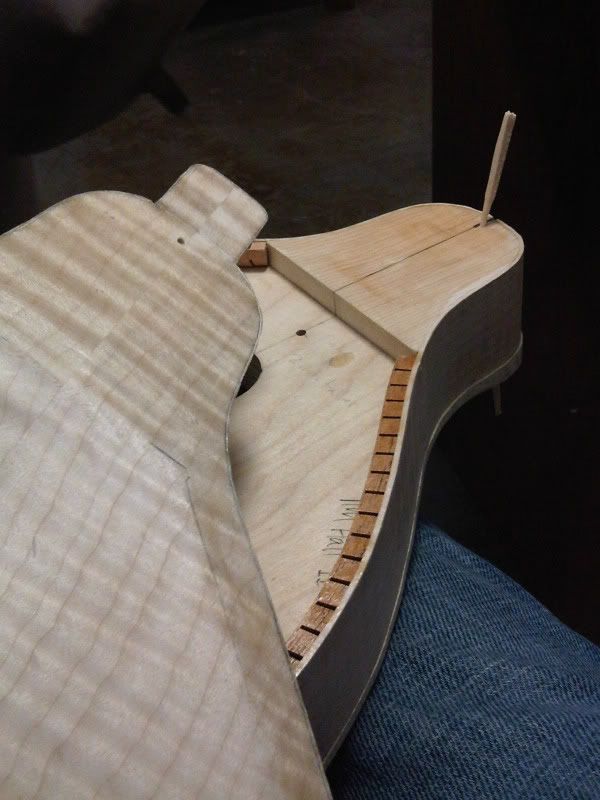
Here's a nice, clear shot of the back plate, rib structure with blocks and the pins located in the holes. When the plate is located on the rib structure and the pins are fitted into place, I know that my alignment is good. The front plate has the same thing going and you can make some of it out in this photo.
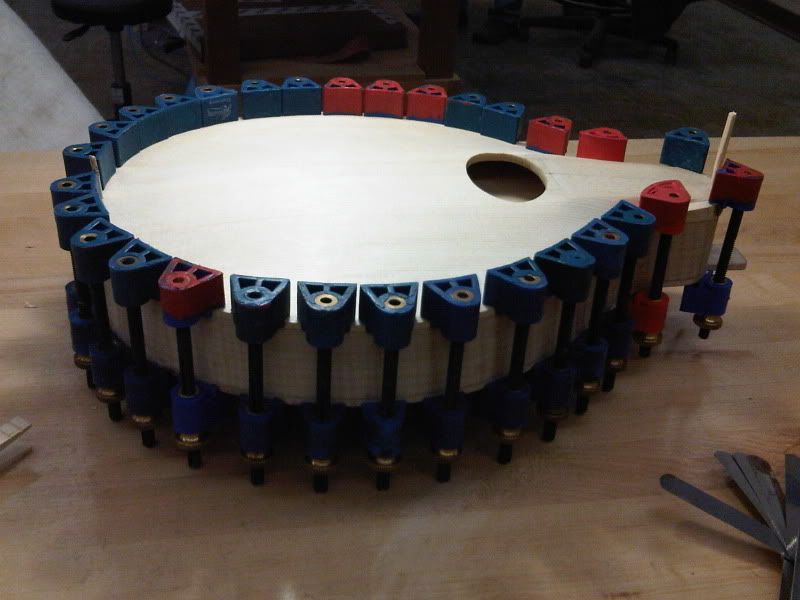
I've taken some hot hide glue and painted each joint surface with a light gloss. The pieces are not mated at this time. We allow the hide glue to dry for about half an hour. Then we clamp the whole box up with these nifty, modern spool clamps. This kind of clamp has been around for hundreds of years.

The gluing technique is pretty cool. We pull off just three clamps at a time. There is some water heating in a small pan, and we use this to activate the glue in that small area. Using a thin feeler gauge as a spatula, I work a little hot water into the joint and move the tool back and forth quickly. It is easy to feel the glue start working as the two separate coats dissolve into one. This method allows you to glue up about two and a half inches at a time.

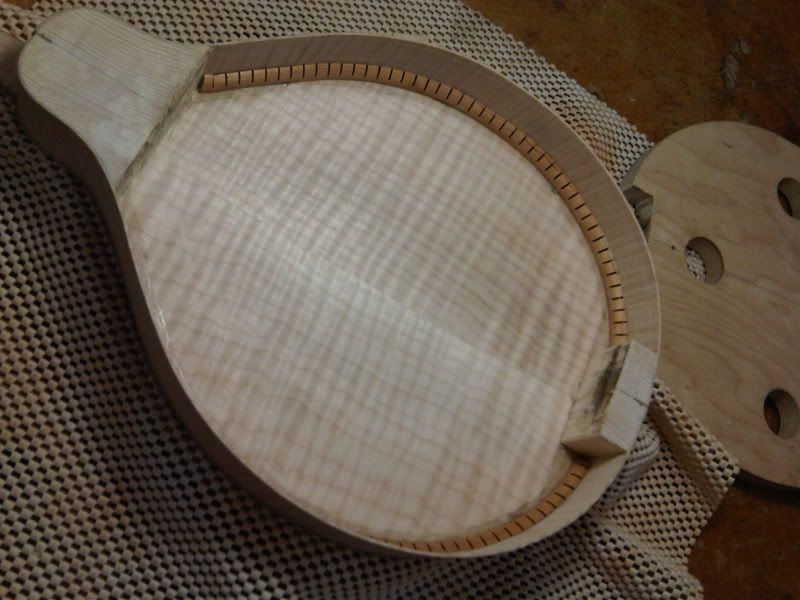
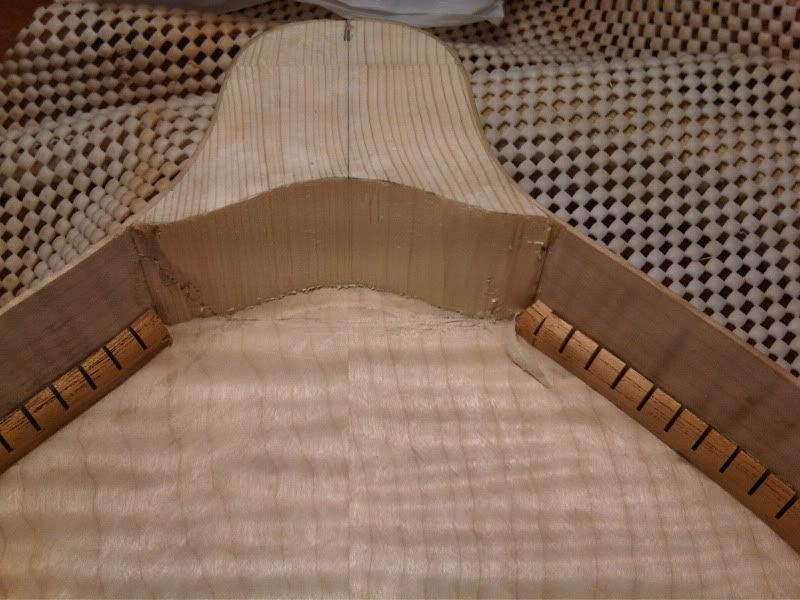
Once the back is securely glued on, we pull out the interior mold. The whole thing suddenly weighs a lot less! The next few steps echo what I did in gluing on the back. I have to install some more kerfing to help support the top. I'm still using Spanish Cedar kerfing and it smells great. I also do a little bit of carving to the blocks. Partially to reduce any extra weight and mass, and also to have a more intentional look to the interior. The tail block just has its' corners lopped off. The head block gets a mustache shape carved into it. This part is easy to see through the sound hold so ya wanna make it look extra nice.

My head block did not want to release from the mold and I actually had a heck of a time getting it to come out. The spatulas we were using for this weren't quite stiff enough and they tented to fold up under the strain. Unfortunately, I mangled my block a bit. You can see some ugliness here. I did the best I could in cleaning it up. It looks better than this now but there was not much more that I could do. Moving on...
Next time, I will route for the binding and start making the neck. Enjoy this cracking good weather. Cheers.
No comments:
Post a Comment