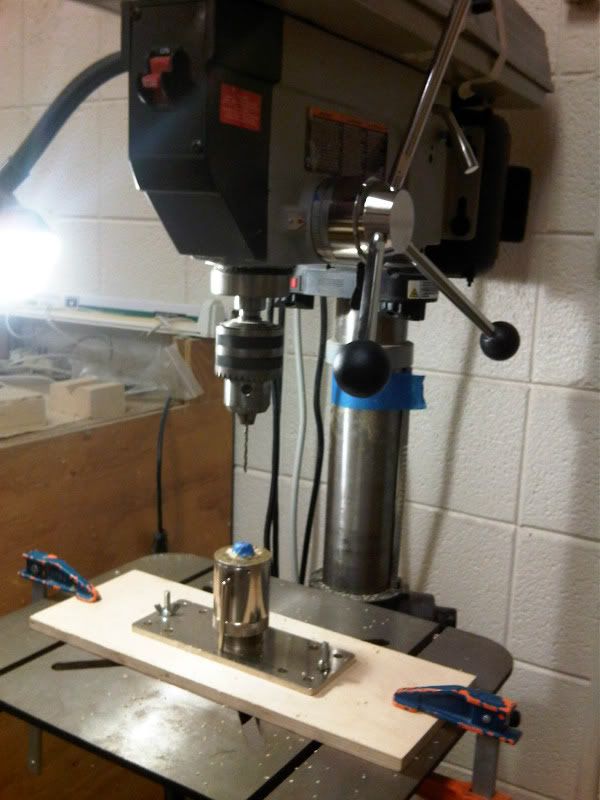
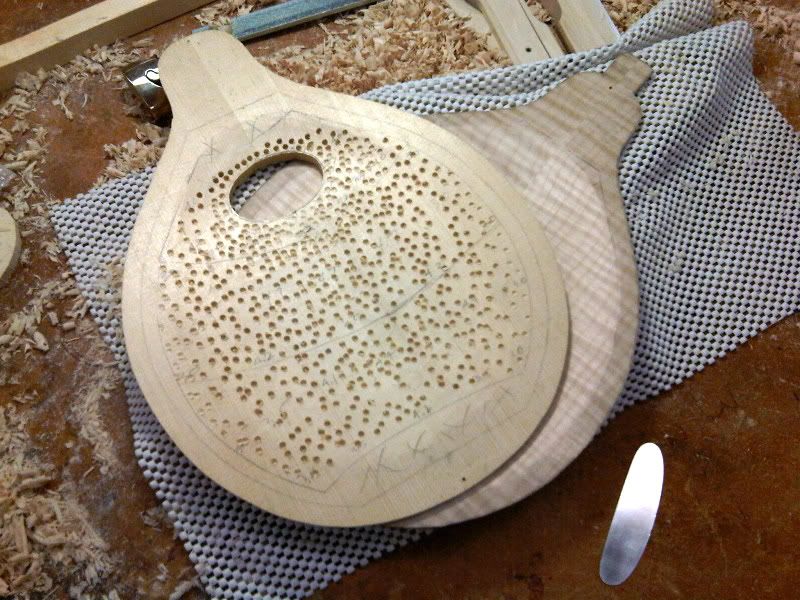
Two simple features are key to this somewhat unsettling technique being a friend you can trust. First is the reliable depth stop. Out of 4 or 5 drill presses at the school, less than half of them have a functional depth stop. That is like having a car with brakes that only work sometimes. So we use one press and one press only for this job. The other lifesaver is the device located directly under the drill bit and chuck assembly. It is basically two threaded pipes fitted together. For every one full rotation, the overall length of the two pieces is increased or decreased by 1mm depending on the direction that you turn them. This rotation has been accurately subdivided into 10 equal parts and thus we have tenths of a millimeter at our disposal and really, any other partial length that we can ballpark.
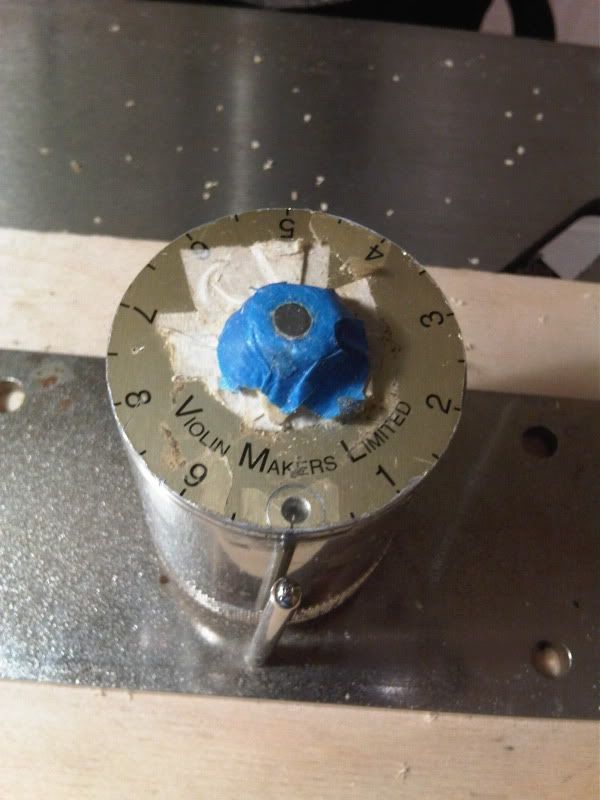
To get going, make sure your depth jig is dialed near the middle of its' threaded length to give maximum flexibility of adjustment and set the machine up to a predetermined depth stop. Next, drill a few test holes and double check the setup. We are told that in days past, people have accidentally drilled all the way through the plate. During the first round, we drill to a single remaining thickness of 7 mm.
A few words about the pictures that follow. You will notice two different pieces of wood being worked. Both pieces go through the same process and so even when the pictures alternate between the spruce and the maple, the point of progress has not changed.
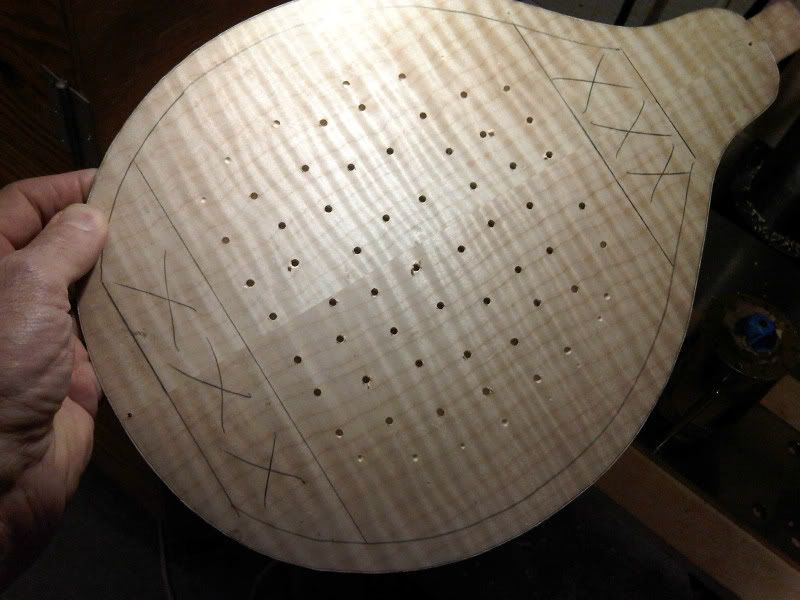
The depth stop ensures that no hole is drilled that is deeper than 7 mm. As long as the wood is thinner than 7 mm, no hole will be drilled. At any thickness over 7 mm, a hole will be drilled and there will be precisely 7 mm of thickness between the bottom of the hole and the other side of the plate. It works. We do the same move to both the front and back plates. The next process is scooping out the wood until you reach the bottom of the holes. It is pretty critical to not go any deeper than the bottom. Just make sure to leave some little scars. Once the evidence of the holes is completely gone, you have no visual of how much "extra" wood you are removing. We use an incannel gouge, finger planes and cabinet scrapers, in this order, to gradually remove the interior wood and eventually make it look sorta pretty.
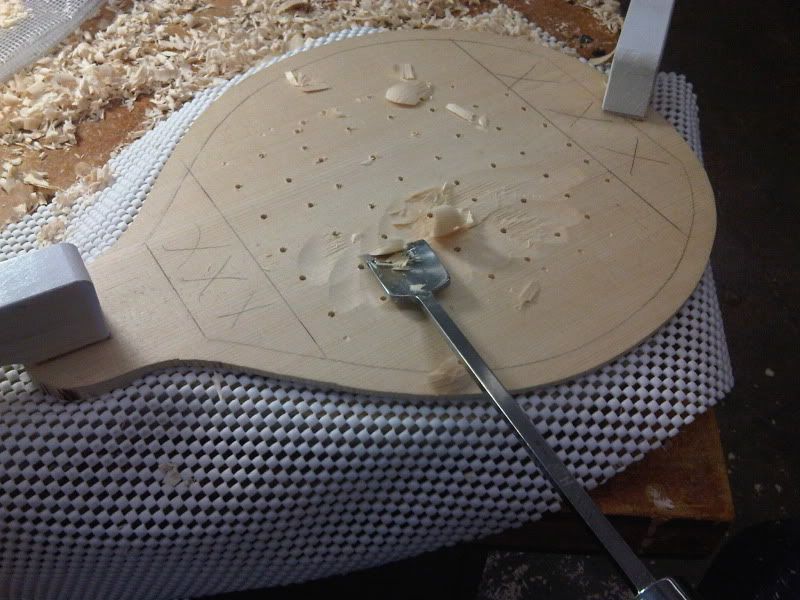
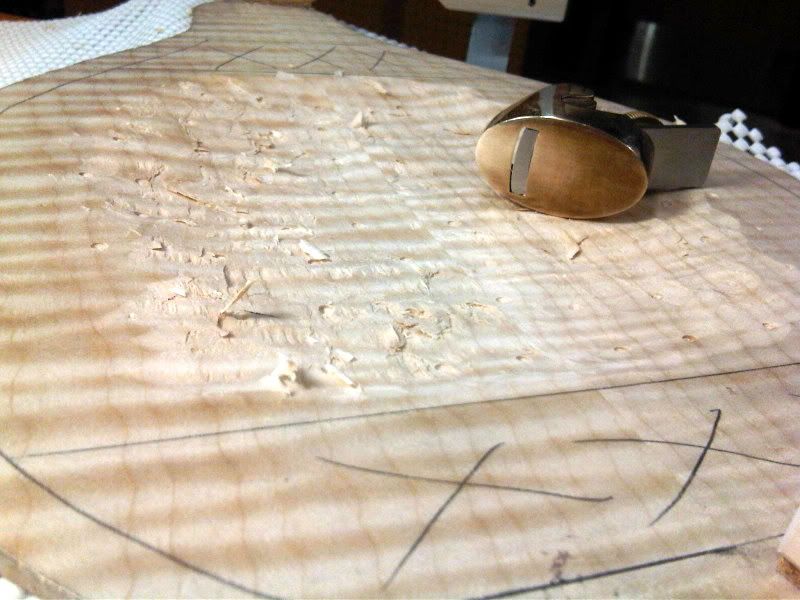
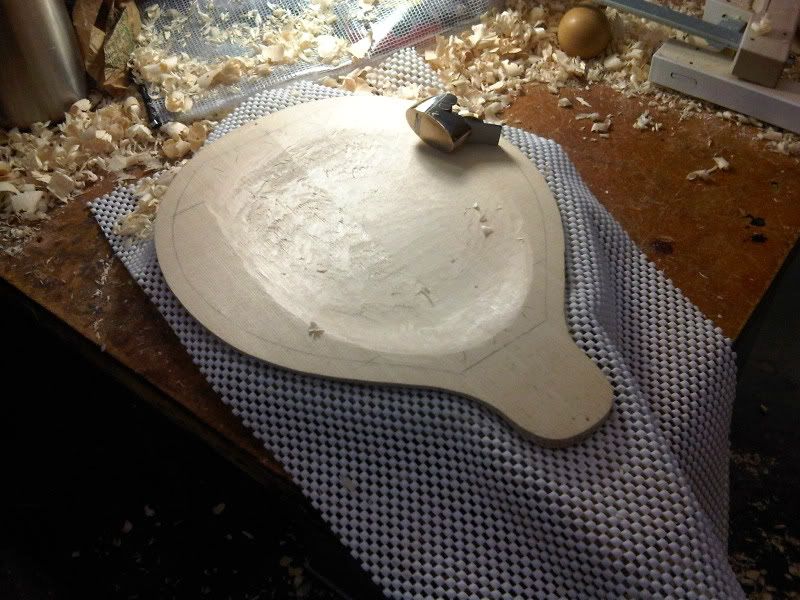
The goal now is just to clean things up enough so that it is easy to do clean work on the final run of graduations. The final thicknesses of the top are supposed to spec out to between 3 mm and around 5.5 mm. This is when the templates come into play for the mandolin build. Concentric rings of graduations guide us in the areas that need to be thicker or thinner than average. Final adjustments are made according to a range of standards including flexibility, aesthetics and gut feeling.
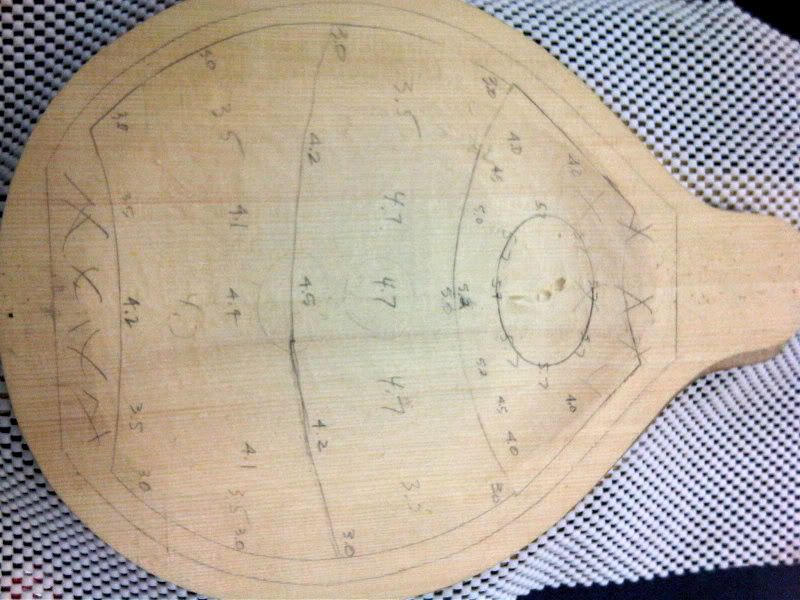
My teacher's teacher says that graduations are the single most important contributing factor in developing a nice voice in an instrument. As of now, the theory behind the graduations makes sense to me. How it came to be this way, however, is something that I want to know more about. The drilling jig gets adjusted a heck of a lot during this part. It's a matter of just turning the barrel of the jig a few degrees. Once you get a feel for the tools, it's easy to relax and just go to town; So I did.
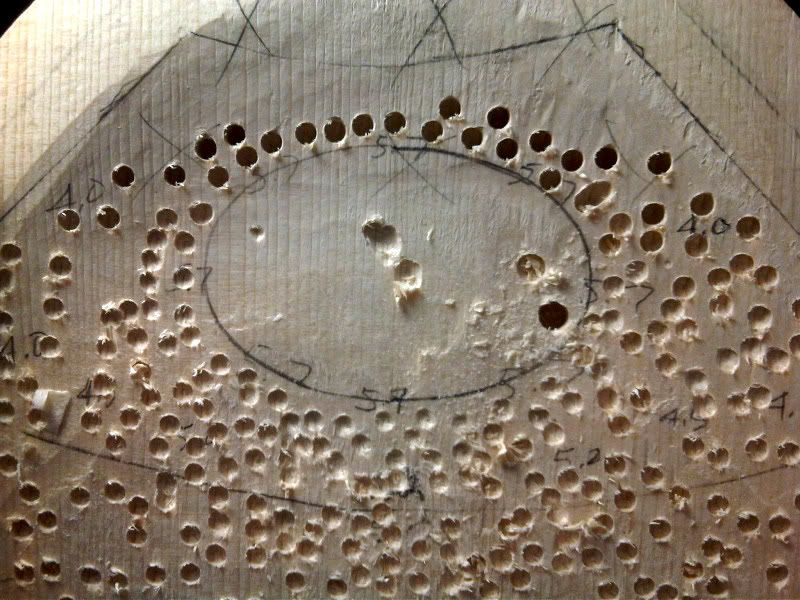
In the previous picture, you'll notice a pencil line depicting the oval sound hole. Inside of this line is a little ol' pilot hole drilled all of the way through. And on purpose too. Through that hole goes a tiny saw blade. Make with the back and forth and about 15 minutes later, you have yourself a rough cutout of the sound hole.
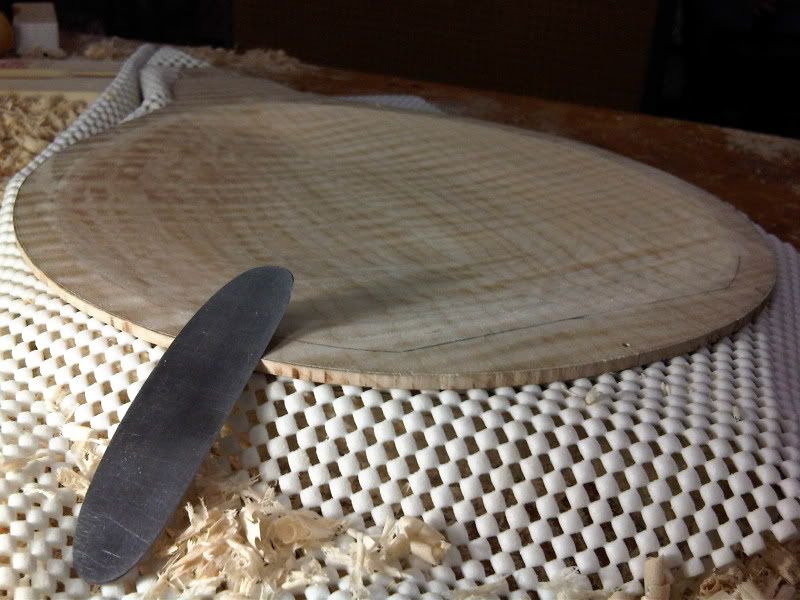
Wood removal with the same tools as before is what follows. Though this time, the goal is to achieve as smooth a surface as you can. This is the time to polish your carve until it is perfect. It is frequently suggested to step away from a carving and come back to it later with fresh eyes. The cabinet scraper is an amazing tool and on this work, we are using the very thinnest one we own. It's like an airbrush for wood. Here they are, partners in crime. Almost there.
That's about all I got tonight. Didn't mean to filibuster your time away. Hope you like it. Take care.
No comments:
Post a Comment